DONT SWIM Tips and Common Mistakes
Habits that keep runs dry — when to wait, when to commit, and which guide to open after each fail type.
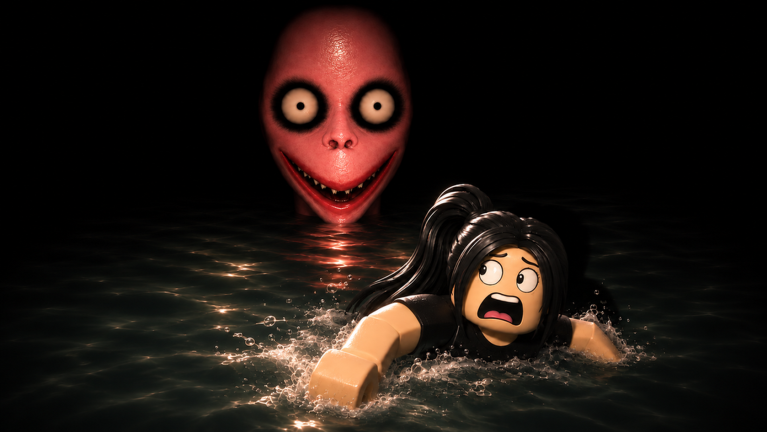
Why tips matter more than raw reaction speed
As of mid-November 2026, DONT SWIM has climbed past 16.7 million visits, with concurrent peaks often sitting above 10,000. Crowded lobbies punish the same mistakes on loop: early jumps, edge landings, coin greed, and celebrating before the Worm phase. This page is the habit layer that sits on top of the Level Walkthrough and Controls. Read it when you already know the rooms but still soft-fail for “no reason.”
The goal is simple: build routines that prevent swim fails before panic starts. Pair every tip with a deeper page when you need mechanics, map context, or multiplayer etiquette.
Tip 1 — Centre landings are non-negotiable
Most swim deaths are hips clipping water after a lip landing, not dramatic mid-air misses. Train one rule:
- Aim for the middle third of every pad.
- If you land on a corner, micro-walk inward before the next jump.
- Never chain a second jump from an unstable edge.
Rehearse this on early platforms until it feels boring. Boring is dry. When a room type confuses you, open the matching section of the Rooms index, then return here to reset the habit.
Tip 2 — Watch one full hazard cycle before you move
Rushing feels productive. In DONT SWIM it is usually a wipe. Squish walls, rotating pads, and rising water all telegraph a loop. Spend the first five seconds of a new room narrating the cycle out loud:
- “Open… close… open.”
- “Full face… corner… full face.”
- “Water climbing — climb first.”
Only then commit. If teammates already entered, wait for a clear window instead of sharing their contested tile. Lobby spacing habits live on the Players hub.
Tip 3 — Know when to wait vs when to rush
| Situation | Default call | Why |
|---|---|---|
| New room, unknown cycle | Wait | Information beats speed |
| Rising water with a clear vertical route | Rush upward | Timer deletes sightseeing |
| Squish window with a free safe pocket | Move on open, never early | Bounce → swim |
| Contested pad in a 20-player lobby | Wait one body | Collision shove into water |
| Worm spawn cue | Rush a pre-chosen dry path | Freeze = grab |
| Coin on a sinking tile | Wait / skip | Coins never beat a dry clear |
Memorise the table. If you cannot decide in one second, default to wait except during rising water and Worm chase — those two punish hesitation harder than impatience.
Tip 4 — Separate death types so practice actually works
Logging “I died again” teaches nothing. Tag every fail:
- Swim — water volume / edge / bounce
- Crush — squish timing
- Worm grab — finale pathing
- Herd swim — Worm pushed you into a pool
Swim and crush deaths belong to this page plus Controls. Worm deaths belong to Survive the Worm. For a fuller fail taxonomy, keep Death Causes open beside your next session. Change only one variable per retry: camera, timing, or route.
The mid-article video below is real DONT SWIM Roblox gameplay — use it to scrub timing on rotating pads, dark rooms, and squish windows when text alone is not enough.
Tip 5 — Camera first, jump second
Hard-spinning mid-air is how depth perception dies. Before you leave a pad:
- Frame the next landing fully.
- Confirm water borders.
- Jump with a stable yaw.
Zoom slightly out on rotating and chaotic grids. Lower the angle in dark rooms so gaps silhouette against lighter tiles. Mobile players should shorten stick holds near edges — drift is a silent swim sentence. Full input setups sit on Controls.
Tip 6 — Coins are optional; dry clears are not
Loot greed spikes during rising water and sinking floors. Adopt a hard rule for public lobbies: no coins until your feet are above the projected hazard line. If a coin sits on a lip, skip it. Fashionable near-miss clips are how wipe compilations get made — not how 16.7M-visit lobbies get cleared.
Tip 7 — Pre-plan three jumps, not one
Chaotic platform grids and sinking floors punish single-step thinking. Before the first leap, name the next three pads. If you cannot name them, you are not ready to jump. The Rooms page explains how each room type changes that planning horizon; the Tier List tells you which rooms deserve the longest pause.
Tip 8 — Multiplayer is a hazard layer
Up to 20 players turn fair solo rooms into traffic puzzles. Habits that prevent group fails:
- Leave a one-body gap on narrow pads.
- Stagger jumps so mid-air collisions do not shove anyone wet.
- Appoint one cycle caller for squish rooms.
- Never dive into water to “help” a friend — that is still a fail for you.
Details and lobby agreements live under Players. Solo practice still matters: muscle memory built alone survives crowd noise better than crowd noise builds muscle memory.
Tip 9 — Warm up before you speedrun
Peak concurrent nights tempt you to skip fundamentals. Spend two minutes on early platforms focusing only on centre landings, then one calm squish cycle where you refuse to move until you can narrate the safe window. Only then push for a full clear. Warm-ups cut the “first room throw” that wastes a good lobby.
Tip 10 — Use the wiki like a toolkit, not a novel
After each fail, open the matching page instead of mashing retry:
- Movement feel wrong → Controls
- Room layout unclear → Level Walkthrough or Rooms
- Same hazard keeps wiping you → Tier List to prioritise training
- Finale panic → Survive the Worm
- Need a fail label → Death Causes
This tips page is the glue. The other guides are the depth.
Common mistakes checklist
- Jumping the instant a rotating corner appears
- Entering a squish red zone “just to be ready”
- Standing still on a sinking tile for a screenshot
- Following a friend blindly through a dark room
- Emoting near water for clips
- Celebrating in place after the last stage clear
- Ignoring ping and jumping on last-frame windows
- Enabling random scripts before you understand why you fail
If three items on that list feel personal, print the list, pick one, and ban it for tonight’s sessions.
A ten-minute improvement loop
- Two centre-landing clears of early platforms.
- One full squish cycle with forced narration.
- One rising-water attempt with zero coin pickups.
- One intentional Worm reach focused only on dry kite paths.
- Log death types; schedule tomorrow’s practice from the highest count.
Related pages
- Getting Started — fail conditions overview
- Controls — camera and jump hygiene
- Level Walkthrough — room applications
- Rooms — room-type index
- Survive the Worm — finale habits
- Death Causes — fail taxonomy
- Tier List — training priority heatmap
- Players — lobby etiquette
- Updates — patch notes that can invalidate old habits
Stay patient on cycles, greedy only for dry ground, and treat every soft fail as a labelled lesson. That is how you climb past the mistake loop while DONT SWIM’s lobbies stay packed above ten thousand concurrent.
Frequently Asked Questions
Quick answers for Poolrooms runs and Worm escapes.
What is the single best DONT SWIM tip for beginners?
Centre-land every pad and watch one full hazard cycle before your first commit in a new room. Most early fails are impatience, not bad aim.
When should I rush instead of waiting?
Rush upward during rising water and commit immediately to a dry path when the Worm spawns. Everywhere else, waiting for a clean window usually wins.
How do I stop repeating the same swim fail?
Tag each death as swim, crush, Worm grab, or herd swim, then change only one variable on the next attempt — camera, timing, or route.
Are coins worth grabbing during hard rooms?
Only from confirmed safe pads above the hazard line. Coins are never worth a swim fail in public lobbies.
Which wiki page should I open after a tip fails in practice?
Use Controls for input issues, Rooms or Level Walkthrough for layout confusion, Tier List for training priority, and Survive the Worm for finale deaths.