DONT SWIM Controls & Movement
Stay out of swim state, land clean jumps, and set up your camera for Poolrooms precision.
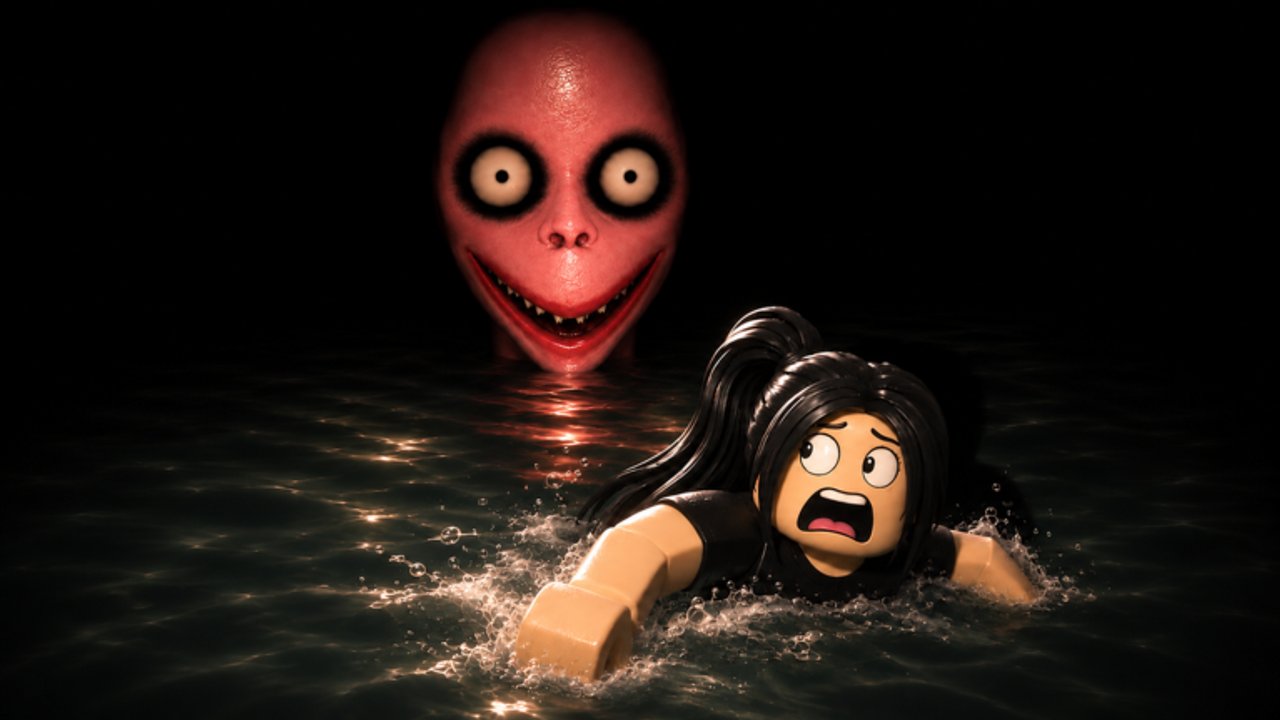
Why controls matter more here than in a normal obby
Most Roblox platformers forgive a wet landing. DONT SWIM does not. The moment your avatar flips into the swim state, the run is over — even if you “meant” to hop a puddle. That makes camera discipline, jump timing, and stick sensitivity part of the skill identity, not optional polish.
This page pairs with Getting Started and the Level Walkthrough. Read it once, then keep it open while you practice rotating platforms and squish windows.
Default Roblox inputs (PC)
| Action | Default |
|---|---|
| Move | WASD |
| Jump | Space |
| Camera | Right mouse drag / mouse move |
| Zoom | Scroll wheel |
| Shift lock (if enabled) | Shift |
| Emotes / menu | Esc / Roblox menu |
You do not get a special “don’t swim” button. Survival is about never triggering Humanoid swimming in the first place.
Default inputs (mobile / touch)
| Action | Typical control |
|---|---|
| Move | Left thumb stick |
| Jump | Jump button |
| Camera | Right-side drag |
| Zoom | Pinch |
On mobile, accidental stick drift near water edges is the number-one soft fail. Lower walk speed in Roblox settings if you keep skating into pools, and prefer shorter taps over long stick holds when platforms are narrow.
The swim-state rule in practical terms
Think of water volumes as kill planes that sometimes look shallow:
- If your feet leave a dry surface and the client decides you are swimming, you fail.
- Walking through ankle-deep visuals can still count depending on how the level authored the water part.
- Falling from a high platform into water is almost always a fail — there is no heroic dive.
Training drill: pick a safe lobby ledge, walk toward water at 50% stick, stop the frame your toes reach the border, then back up. Build a muscle memory “buffer zone” of one character width.
Camera setups that save runs
- Slightly zoomed out on rotating platforms so you can see the next pad and the water gap.
- Lower angle in dark rooms to silhouette gaps against lighter tiles.
- Shift lock or first-person toggle only if you already have clean jump timing — locked cameras punish panic turns near edges.
- Never hard-spin mid jump. Adjust yaw before you leave the pad.
If teammates block your view in a 20-player lobby, strafe laterally instead of zooming into first person at the water line. More on group spacing in the Players hub.
Jump timing fundamentals
Rotating platforms
Wait for the pad to face you with a full landing square visible. Jumping the instant a corner appears clips hips into water on the way down. The walkthrough video chapters call this out clearly — scrub that section from the Level Walkthrough.
Squish walls
Red zones are not suggestions. Hold position on the marked safe tile, watch one full crush cycle, then move during the open window. Jumping early into a closing gap is how people “randomly” swim after a bounce.
Rising water
Vertical routes beat heroic long jumps. Climb first, loot coins later. If water is climbing faster than your route, reset mentally and take the next ladder / block path even if it is longer.
Sinking floors
Keep moving. Standing still to adjust camera is fine for half a second; AFK flexing is a swim sentence. Pre-plan the next two tiles so you are never deciding mid-sink.
Sensitivity and accessibility tips
- Lower mouse sensitivity if you over-aim jumps on PC.
- On controllers, reduce right-stick speed and enable vibration if it helps you feel landings.
- Colour-blind players should watch geometry motion, not just red overlays — squish rooms sometimes reuse similar hues on safe tiles.
- High ping? Jump earlier than feel suggests on moving pads, and avoid last-frame cancels.
What not to do
- Do not spam jump on the waterline hoping for a ledge grab — there is no forgiving mantle if swim state triggers.
- Do not emote near edges for clips; clip farming is how highlight reels and wipe screenshots are born.
- Do not follow a friend blindly into a dark room; their depth perception is not yours.
- Do not enable random scripts while learning controls — you will not know which inputs actually kept you dry.
Practice routine (10 minutes)
- Two calm clears of early platforms focusing only on centre landings.
- One squish-wall cycle where you refuse to move until you can narrate the safe window out loud.
- One rising-water attempt where you ignore every coin.
- Review deaths: swim vs Worm vs crush. Only swim deaths belong to this page — Worm deaths go to Survive the Worm.
Related pages
- Getting Started — fail conditions overview
- Level Walkthrough — room applications of these controls
- Tier List — which rooms demand the tightest inputs
- Codes — nothing to redeem yet, but bookmark for later
Clean inputs make the horror funny instead of frustrating. Master the buffer zone, respect red paint, and keep your avatar’s swim animation permanently unemployed.
Frequently Asked Questions
Quick answers for Poolrooms runs and Worm escapes.
Is there a special anti-swim key in DONT SWIM?
No. You avoid failing by never entering the swim state — careful movement and jumps only.
Should I use Shift lock?
Only if you already land jumps cleanly. Many players prefer a free camera so they can peek water gaps before committing.
Why do I fail even when the water looks shallow?
Swim detection follows the water volume and humanoid state, not how deep the graphics look. Treat every water surface as deadly.
Any tips for mobile players?
Lower stick sensitivity, take shorter movement taps near edges, and zoom out slightly so platforms and water borders stay visible.